Scooby-doo Bracelet with Miyuki Beads Inspi434
Scooby-doo Bracelet with Miyuki Beads
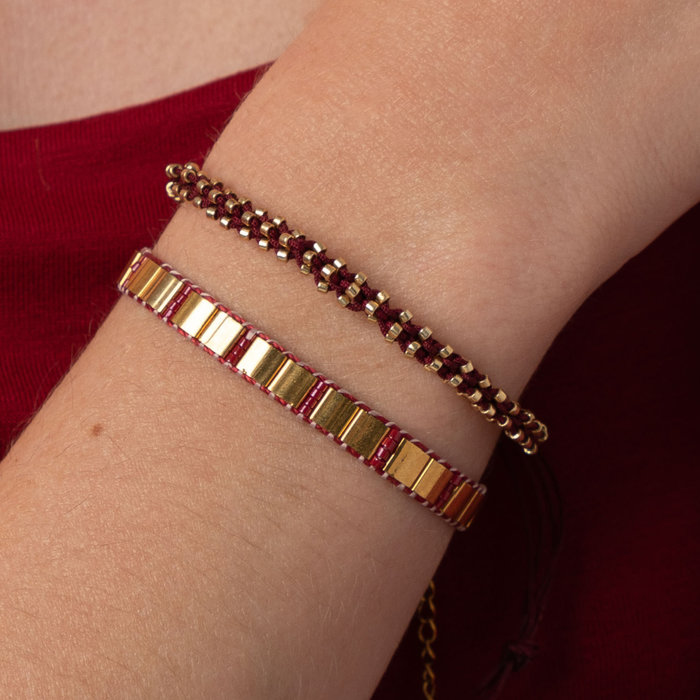
This cheerful set will brighten up your outfit immediately. And you can go all the way with the colors. Not difficult at all to make when you have learned the technique. And a nice end result.
Used Materials:
Scooby-doo Bracelet:
S-lon Cord 0.5mm Dark Red Spool
Miyuki Delica's 11/0 Duracoat Galvanized Gold
Weave Bracelet:
S-lon Cord 0.5mm Dark Red Spool
Miyuki Delica's 11/0 Duracoat Galvanized Gold
Miyuki Delica's 11/0 Opaque Dyed Maroon
Miyuki Tila 5x5mm Plated Gold
C-lon thread Beige
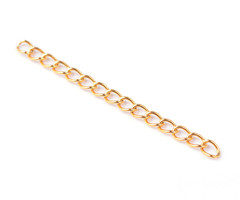
Stainless Steel Chain Extension 47x3mm Golden
Stainless Steel Lobster Clasp Gold 12mm
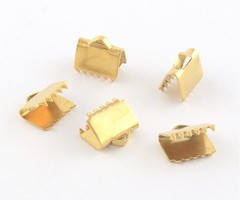
Stainless Steel Ribbon End Golden 6x6mm
Stainless Steel Jumprings Gold 4mm
How to maken:
Scooby-doo Bracelet:
You start with 4 pieces of S-lon wire of 1 meter long. Tie these together with a knot which is at the very end, and then make another knot about 8 cm lower. Then you start with the scooby-doo technique. You hold the strings with the button at the bottom and make sure there is a string in each corner. The idea is to knot the 4 strings so that they are all below and above each other. You do that by taking 1 rope from a corner, and putting it over the rope from the first corner on the right. Make sure that string stays over that corner and then grab the string that you just laid the first string over. Go to the next corner on the right with this piece of string and lay it over the corner again. Do the same with the second piece of string. With the fourth piece of string you are going to close the knot. Take the fourth string and go to the first corner on the right side, if all goes well this will be the corner of the string you started with. Because the first string is under the second string, there is a kind of loop created at the first string. Pass the fourth string through that loop and then pull all 4 strings tight. The knot is now closed. Repeat this step, only now you don't go to the right with the strings but to the left. Alternate from left to right. If you have done this a few times, do exactly the same only with beads in between. Before you tie the knot, thread a bead on each strand. Then tie a knot in the same way. Then tie another normal knot and thread a bead on each string again. Continue until your bracelet is long enough. Finish with a sliding knot, which is explained in the video below.
Weaving Bracelet:
The video below explains exactly the technique of the weaving bracelet.
Feel free to share your jewelry projects with #beadsandbasicson instagram, we love to see what you guys are making :)


