BoxKnot Leather Bracelet in Blue and Black Inspi349
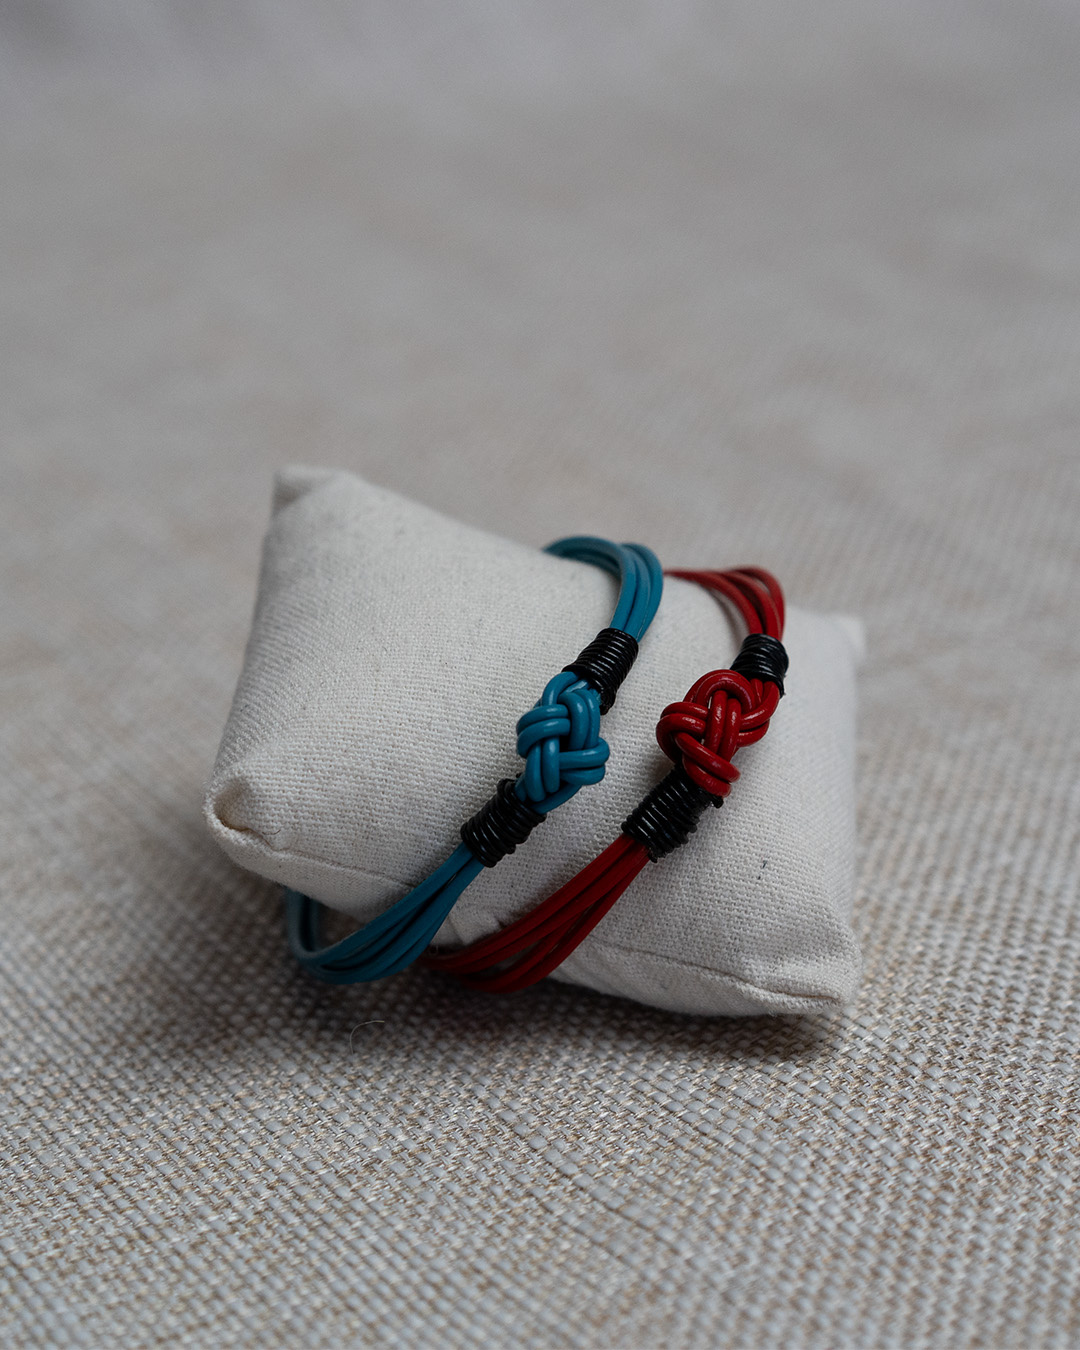
Box Knot Leather Bracelet in Blue and Black
Nowadays, men think jewelry is totally hot too. So perfect to inspire you with this cool viking bracelet with Box Knot. Looks complicated, but you can make it in no time ;)
Materials used:
Wine red leather 2mm
Black leather 1mm
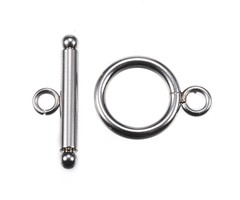
Stainless steel toggle clasp 18mm
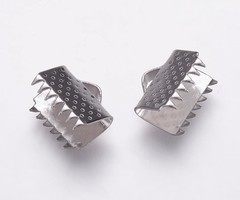
Stainless steel ribbon end 9x10mm
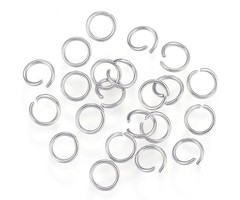
Stainless steel jump rings 4mm
How to make this bracelet:
- Take 1.5 meters of blue leather and cut it into 4 equal pieces. Place 2 wires horizontally and then 2 wires vertically on top so you get a cross shape. Stick the threads to the table in the middle with tape.
- Now take the bottom threads (the threads lying vertically) and bend them over the horizontal threads to the other side. Tape them down so you get an arch shape. Do the same with the top wires and bend them to the bottom which you also tape down, so you have 2 arcs next to each other. (see picture1)
- Grab the right wires of the horizontal wires and bend them to the left, firstly OVER the first arch and then UNDER the second arch. Do the same with the left wires, so to the right, OVER the first bow and UNDER the second bow of leather. Now pull both sides gently. you will now see the boxknot shape form (also called scoubidou).
- Now that the knot is made we are going to wrap the 1 mm leather around it on both sides of the knot. You will need 2 pieces of leather of 50cm. Make a loop with 1 side longer (see picture2), hold it together with the 4 threads of blue leather on 1 side of the knot and wrap the leather towards the knot, 8 times around the 6 threads of the blue and black leather. The end of the black leather (which you are wrapping) you put downwards through the loop and you pull on the other side of the wrapped leather (the long piece of leather) until the loop disappears under the wrapped part. You do this until the loop is approximately in the middle of the wrapped leather.
- Slide the leather up towards the knot until it is almost against it. Now you can pull both sides tight and cut off the pieces of leather that are left. Do exactly the same on the other side of the knot.
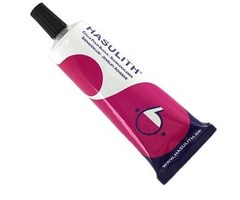
- When you're done, put a little glue on all four pieces of leather you cut off so the wrapped part can't come loose anymore.
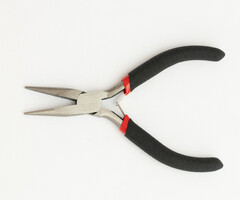
- You are only going to finish the bracelet. Measure how long you want the bracelet to be (you can measure it around the wrist or calculate it by using a size chart) Attach the ribbon end to the ends by placing the 4 strands of blue leather next to each other in the ribbon end and pinching the clasp closed with your flat nose pliers. To make it firm you can first put a little glue in the ribbon end.
- Attach the round part of the toggle clasp to 1 ribbon end with a jumpring.
- Attach the bar of the toggle clasp to the other lribbon endr but use THREE jump rings. That way it's easier to get the bar through the clasp
And Voilá, your cool bracelet is ready!
Have you created something fun with our materials? Tag us on Instagram, we love to see what you're making!
Have fun creating!


