Hoop Earrings with Miyuki Beads Inspi387
Hoop Earrings with Miyuki Beads
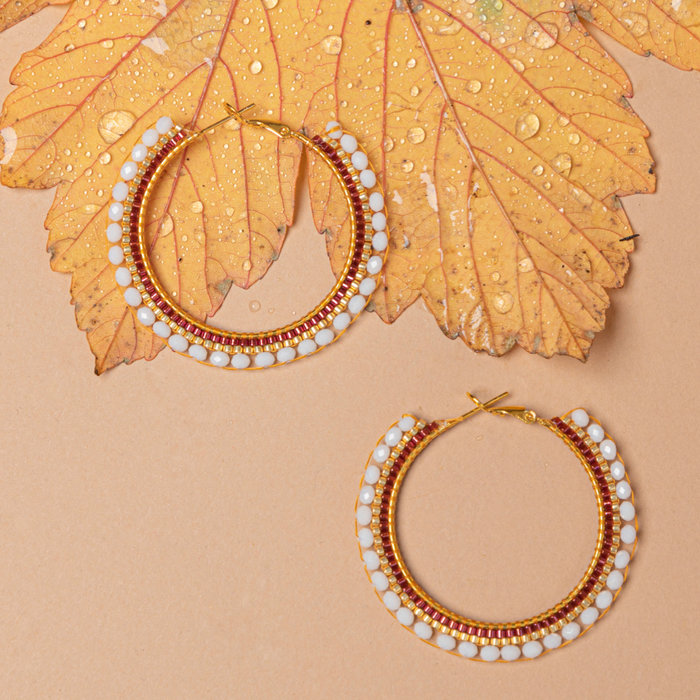
Simple to make and yet chic. You can wear this beautiful earrings to a party, and they are also fun and easy to make.
Here's the video and description of how to make these earrings.
You start by attaching the c-lon wire to the earring. You do this by tying a knot at the very beginning of the earring. Make sure the wire is long enough so you don't have to tie knots in between, about 1.5 meters. Put a little glue on the knot so it can't come loose anymore. Thread the wire through the needle and thread the first bead up to the earring. Pull the wire over and then through the earring and then thread the wire through the top of the bead. Pull tight so the bead is nicely attached to the earring, and repeat this step until you have a whole row around the earring.
To attach the next row of miyuki beads you do basically the same thing only there is just one difference. This time you thread the beads on top of the first row of beads. If you look closely, there is a sort of 'bridge' between the beads of the first row. Thread a new color bead onto the wire and then thread your wire through that 'bridge'. Then thread your thread through the top of your miyuki bead again and pull it tight.
To attach the last row of faceted beads, do exactly the same thing as for row two. Only this time skip a 'bridge' as these beads are larger.
To finish, go through the first beads of rows 1 and 2 and tie a knot in the c-lon wire again. Put a little glue on the knot again and your earring is finished!
Used materials:
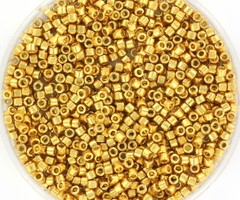
Miyuki Delica's 11/0 Duracoat Galvanized Gold
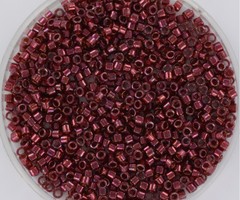
Miyuki Delica's 11/o Gold Luster Wine
Facet Glaskralen Wit 3x2mm
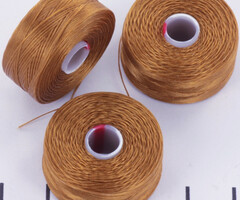
C-lon Draad Goud, 71 meter
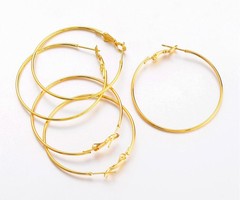
Oorbel Creolen Goud Nikkelvrij 40mm
Beading Naald 0,46mm
Jewelry glue
Feel free to share your jewelry projects with #beadsandbasics on instagram, we love to see what you guys are making :)
Enjoy creating!


