How to make a Jewelry Set with Glass Connectors Inspi474
How to make a Jewelry set with Glass Connectors
This fancy set is easy to make yourself! Because of our wide range of glass connectors, you can make this set in different color combinations.
The bracelet:
Start by cutting 4x a piece of 12 balls from the ball chain. Attach an end cap to both sides of the pieces and pinch them shut. Next, cut a piece of about 30cm of steel wire and thread 3 white miyuki seed beads, 2 end caps with the ballchain chains attached and another 3 white miyuki seed beads. Fold the steel wire in half and thread the first glass connector of 8x6x4mm. Now thread on both wires 1 colored rocille and thread the next 14x10x6.5mm insert. Now thread on both wires 2 colored seed beads and thread the glass connector of 10.5x5.5x4mm. Thread 2 white seed beads and the next 14x10x6.5mm connector. Now thread on both wires 1 glass connector measuring 8x6x4mm. Then go with the lower wire through the lower hole of the connector and push this through the 2nd connector diagonally upwards (so you can continue to thread on this wire). Now do the same with the upper wire but go through the upper hole downwards. Use a flat pair of pliers to bend the wire tightly against the interlace.
Now thread 1 white seed bead on both wires and a 18x13x6.5mm connector. Now repeat all steps in mirror image for symmetry. When you are going to thread the last connector, thread only the bottom part. Then thread the 3 white beads, the 2 end caps and 3 white seed beads. Put the wire further through the upper part of the last connector so that both ends of the wire are together again. Thread a stainless steel crimp bead (thread the wires in opposite directions through here) and crimp it closed. If necessary, use a pair of round pliers to pull everything as tight as possible.
Finally, attach the clasp to the end by putting a 4mm jumpring through both end caps. Use a piece of about 8 links of the chain link to make an extension chain. Open the link and attach it to the eyelets of the end caps.
The Ring:
Start by cutting about 15 to 20cm of the elastic. Thread the 10x8x5mm glass connector and insert the elastic diagonally through the connector (i.e. through the top hole diagonally to the bottom hole on the opposite side). Now thread 2 white seed beads, 1 spacer bead 4x3mm and 3 colored seed beads. Now thread a spacer bead of 3x2mm and repeat the pattern until your ring is long enough. Only use a 4x3mm spacer beads at the beginning and end and a 3x2mm spacer bead for the rest. For ring size 57, thread 5x the piece with white seed beads. When you have reached the connectors, thread through the 2 open holes. Then thread 2 more white seed beads and go through the spacer bead from the first row. Now repeat the pattern from the 1st row, each time going through the spacer bead from the 1st row. When you have strung the last seed beads, make a double knot with both ends. Put a jewelry glue on this and put 1 end through the connector. Pull the knot in and cut the ends off.
The set is now ready to be worn!
Used materials bracelet:
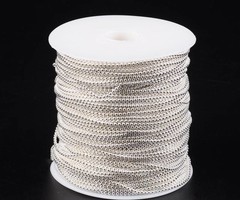
Ballchain silver 2mm
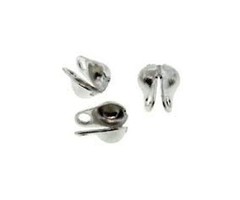
End caps silver for ballchain 2mm
Miyuki seed beads 11/0 ceylon ivory pearl
Miyuki seed 11/0 duracoat galvanized sea foam
2x Glass connector oval 8x6x4mm green
2x Glass connection oval 8x6x4mm clear
2x Glass connector oval 14x10x6.5mm green
2x Glass connector oval 14x10x6.5mm clear
2x Glass connector rectangle 10.5x5,5x4mm green
Glass connector oval 18x13x6.5mm green
Steel beading wire 0.45mm
Crimp bead 2mm
Carabiner silver 12mm
4mm jump rings silver
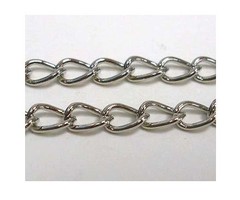
Chain link antique silver 4mm
Flat nose pliers
Used materials ring:
Elastic
Miyuki seed beads 11/0 ceylon ivory pearl
Miyuki seed 11/0 duracoat galvanized sea foam
Glass spacer oval 10x8x5mm
Stainless steel spacer beads 3x2mm
Stainless steel spacer beads 4x3mm
Jewelry glue
Feel free to share your jewelry projects with #beadsandbasics on instagram, we love to see what you guys are making :)
Enjoy creating!


