Making an Bracelet Set with Gemstone Connectors and S-lon Inspi452
Making an Bracelet Set with Gemstone Connectors and S-lon
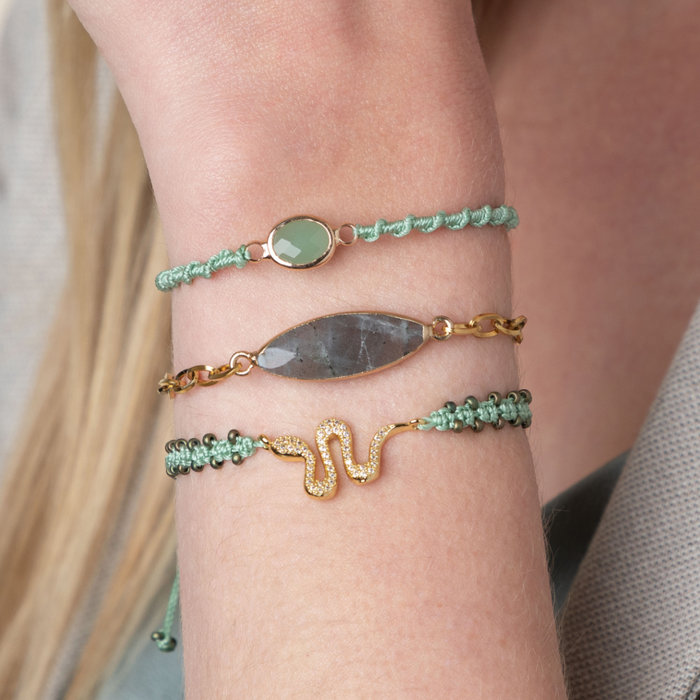
You can easily make this nice set yourself and because of our wide range of S-lon thread, you can make this set in many different colors! For another nice bracelet set with S-lon click here.
Bracelet with the stainless steel link chain:
Start by making 2 pieces of link chain. 1 of approximately 5,5cm and 1 of approximately 6cm. Open the link and hook the connector to it. Repeat with the other piece and attach the lobster clasp to the short side, using a stainless steel 4mm jumpring. Finally, attach the extension chain by using a stainless steel 4mm jumpring.
Twisted bracelet:
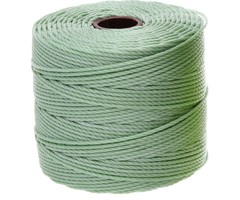
For this bracelet you use the s-lon thread. Start by cutting off approx. 30cm of S-lon thread, fold it in half and attach it to the connector. Do this by putting the loop of the s-lon thread through the eye of the connector. Then pull both ends of the wire through this loop and tighten it. Tape the spacer to the table and pull the 2 threads tight. Tape these to the table as well. Now cut off a piece of approx. 80cm of the S-lon and tie this (with a normal knot) to the 2 wires, as close to the connector as possible. Put the wire under the 2 threads and keep a loop open, then go over the 2 threads and back through this loop. Pull this tightly. Repeat this stitch until you have knotted about 6.5cm. To make sure the stitch will turn, pull the thread along in the direction of the turn (sometimes you have to pull the thread under the 2 threads). Repeat on the other side. When your bracelet is long enough, cut the thread you used to knot. Burn this flat against the bracelet. For extra strength, you may want to use a little jewelry glue.
Make sure you have about 7cm left on both sides, this is where we are going to make the sliding knot. Watch the video below for the sliding knot. Unlike in the video, we are not crossing the threads of the bracelet, but we are laying them next to each other. Finally you attach 4 beads to the threads and tie a knot, so the sliding knot can't slip off. Burn the ends a little so it doesn't fray.
Bracelet with the snake insertion:
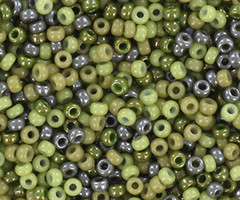
The beginning is the same as the bracelet above. Cut a piece of S-lon of about 30cm, fold the wire in half and attach it to the snake connector. Cut a piece of approx. 70cm and attach it with a flat knot (see the video above). After every 2nd knot, thread on both threads a miyuki rocaille 11/0. Then tie another knot and repeat this until you have added a total of 13x miyuki seed beads. Then tie off by making 3 more knots. Cut off the thread you used to make the knots and again carefully burn the end flat. For this bracelet, you also use a slipknot again. This time it's as shown above in the video.
And then you bracelet set is ready to be worn!
Used materials:
Stainless steel chunky chain 10x5,5mm
Naturel labradorit link gold plated 34x10mm
Stainless steel lobster clasp gold 12mm
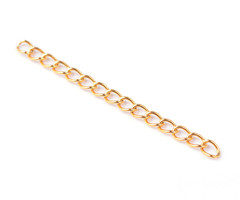
Stainless steel chain extension 47x3mm
Stainless steel 4mm jumprings
S-lon draad 0,5mm ligt mint green
Crystal glass charm oval dark green 16x8x4mm
Miyuki rocailles 11/0 kaki mix
Luxury link with zirconia 13x26mm snake golden
Jewelry glue
Share your jewelry projects on instagram with #beadsandbasics for a chance to win € 20,- shopping money.
Enjoy creating!


