How To Make a Colorful Bracelet with Tassels and Connectors Inspi347
How to Make a Colorful Bracelet with Tassels and Connectors
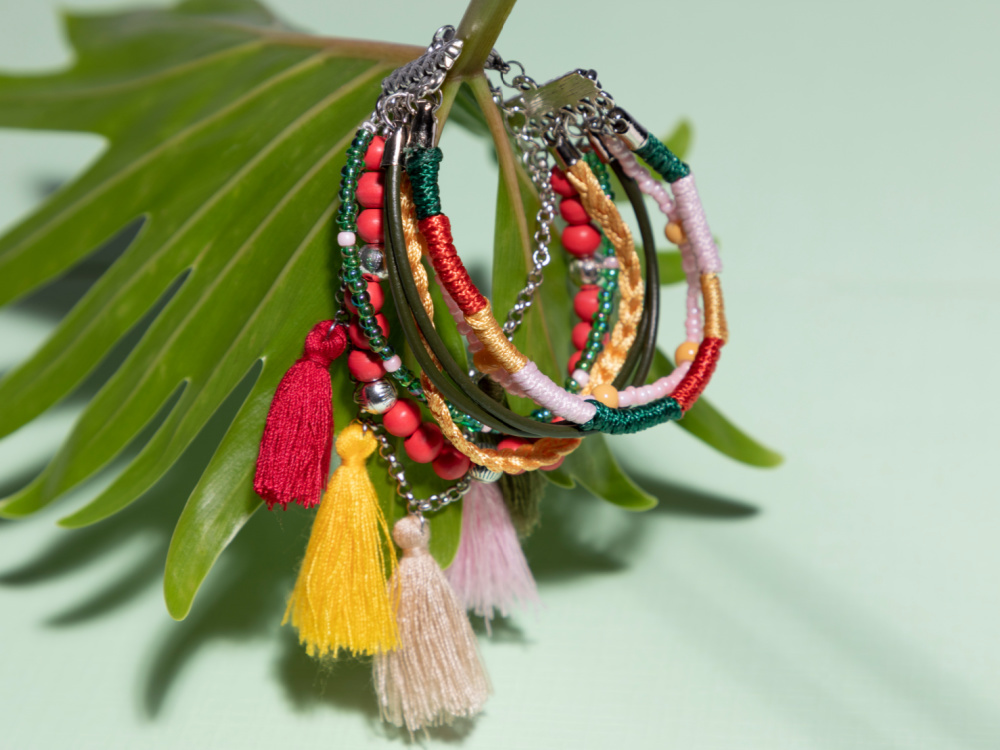
This colorful bracelet is made out of 6 strands, but with our step by step guide it is easy to make yourself! You will have a complete bracelet set at once!
Start with one of the middel strands, this way it is easier to measure the length. Cut 3 pieces or waxed cord at about 60cm. Fold them in half so you have 6 strands in total. Put a little bit of glue in the endtip and put the side with the 'loops' in the endtip. Wait for it to dry a little and then we can start braiding. make 3 groups of 2 strands and braid a 'normal' braid. When you think you reached the right length, cut the left over strings and glue the other endtip to the ends. (our braid is about 12cm including the endtips, this is for a smaller bracelet). Lastly attach a jumpring at both ends and attach it to the middle eye of the connector.
Now we start with the leather one. Cut 2 pieces at the same length as you braid and glue both pieces in 1 endtip. Repeat at the other side and attach the leather one at the same eye as the braid. Use 4mm jumprings to attach it.
The 3 strands with beads are pretty straight forward. Use nylon thread and crimp beads. You can attach the strand to the connecter or attach it to a jumpring and then to the connector.
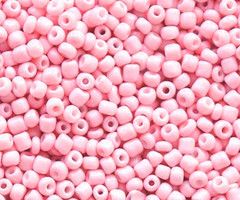
For the pink one we used about 9 pink seed beads and 1 ochre yellow glassbead. Repeat this 6x and attach it to the eye next to the green leather.
For the green one, we used about 11x green seed beads and 1x pink. Repeat this 6x as well.
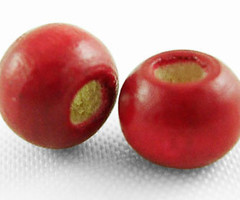
For the Red one, we used 3x wooden red beads and 1x spacer beads. Repeat this again 6x. The red and green string will be attached together at the eye next to the yellow braid. *Keep in mind that these measurements are for a smaller bracelet, add more beads for a bigger bracelet*.
Now it's time for the tassels. Start by putting a 4mm jumpring through each tassel. Cut the chain to size and pick the middel. Attach the beige tassel to the middel and from here count 9 links further, attaching the next tassel at the 10th link. You will need 5 tassels in total. Attach a 4mm jumpring to both ends and attach the chain to the last eye of the connecter, next to the red and green beads.
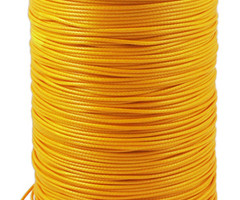
Last but not least, the waxed cord one. Make sure to use long pieced of cord in the 4 colors. Glue the 4 strands in a endtip and wait for it to be a little secure. Start with the green one. use some glue on the other 3 strands before wrapping the green one around all the other strands. The glue will help secure the cord later. Wrap about 1,5cm with each color and don't forget the glue. When you reached the right size, cut the excess but leave a little bit of cord to glue the endtip on. When the last endtip has dried, use 4mm jumprings to attach it to the last eye of the connecter.
to complete your bracelet, attach a lobster clasp on one side and a extender (jewelry chain) to the other side. Your bracelet is finished and ready to wear!
Used materials:
Tassel beige 25mm
Tassel pink 30mm
Tassel army green 30mm
Tassel Yellow 30mm
Tassel wine 30mm
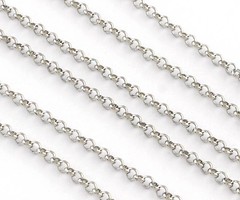
Stainless steel chain silver 3mm
Seed beads light pink 2mm
Glassbeads 4mm ochre yellow
Seed beads green shine 2mm
Wooden beads red 6mm
Spacer beads with eye silver 6mm
Cowhide leather cord 2mm dark olive green
Cord end tip silver fits 4mm cord
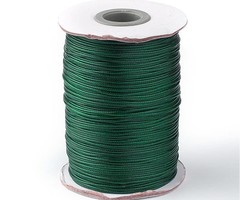
Waxed cord dark green 1mm
Waxed cord 0.8mm orange
Waxed cord 0.8mm red
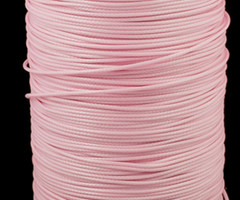
Light pink wax cord 1mm
Nylon thread 0.3mm
Distributor silver edited 5 eyes
Stainless steel jumprings silver 4mm
Stainless steel lobster clasp 12mm
Jewelry chain antique silver 4mm
Jewelry glue
Share your jewelry projects on instagram with #beadsandbasics for a chance to win € 20,- shopping money.
Enjoy creating!


